Browse the Full Catalog
Cybrary’s comprehensive, framework-aligned catalog has been reorganized to provide you with an intentional, guided learning experience. Advance your career, prep for certifications, and build your skills whenever, wherever.


The content and tools you need to build real-world skills
Rapidly develop your skills via an integrated and engaging learning
experience on the Cybrary platform.
Bite-sized Video Training
Manageable instruction from industry experts
Hands-On Learning
Put your skills to the test in virtual labs, challenges, and simulated environments
Practice Exams
Prepare for industry certifications with insider tips and practice exams
Earn Industry Badges
Complete coursework to earn industry-recognized badges via Credly
CISSP Certification Prep
Our CISSP certification course and training for the CISSP certification, essential for cybersecurity professionals aiming to move up in their career. This course will cover all aspects of security, risk management, and architecture to help you prepare for the CISSP exam. Learn from experienced professionals and gain the knowledge needed to become a certified security expert.
Comptia Security+ Certification Prep
CompTIA’s Security+ is a globally recognized certification that equips IT professionals with cybersecurity principles and security best practices, and is often used as a requirement for entry-level cybersecurity positions. This certification prep path is designed to provide you with a comprehensive overview of the concepts and skills you will need to pass the certification exam.

.webp)
IT & Cybersecurity Foundations Career Path
Get everything you need to start your cybersecurity career journey, and stop wasting your time (and money) sorting through unreliable information from questionable sources. While this industry offers very lucrative career opportunities, finding accurate, relevant information to break into the field can be incredibly frustrating. That’s why we’ve crafted this IT and Cybersecurity Foundations path, featuring thoughtful, bite-sized content from expert instructors covering core concepts found across all cybersecurity roles. These instructors have helped thousands of other beginners grasp essential IT and cybersecurity topics. Get ready to take your first steps into cybersecurity by diving into core concepts needed for any cybersecurity role. Build practical skills and gain confidence as you begin your cybersecurity journey.
.webp)
SOC Analyst Career Path: Training for Advancement
SOC Analysts are the front line of defensive security operations and currently among the most in-demand roles in cybersecurity. They are responsible for receiving, analyzing, and triaging security tickets within an organization’s Security Operations Center. This SOC analyst training path is designed to equip you with the foundational knowledge and key skills needed to succeed in an entry-level SOC Analyst role. Through a series of 20 courses and hands-on virtual labs, you’ll gain experience in Defensive Security Fundamentals, Log Analysis, Network-Based Detection, and Host-Based Detection. Completing this SOC analyst training, along with the associated assessments, will prepare you to launch your career and explore advanced specialties like Threat Intelligence, Threat Hunting, Incident Response, Malware Analysis, and Digital Forensics.
Penetration Tester Career Path
Penetration Testers are professional ethical hackers. They are responsible for assessing an organization's defenses from the perspective of a threat actor. This program is designed to provide you with the foundational knowledge and key skills required to succeed as an entry-level Penetration Tester. Over the course of 22 courses and hands-on virtual labs, you will learn Offensive Security Fundamentals, Reconnaissance and Enumeration, Application Attacks, Network Attacks, and Evasion.
.webp)
Security Engineer Career Path
Security Engineers are security-minded architects and builders. They are responsible for planning and implementing security controls throughout an IT environment. This career path is designed to provide you with foundational knowledge and key skills required to succeed as an entry-level Security Engineer. In this path, you will learn Security Engineering Fundamentals, Infrastructure Security, Application Security, and Data Security.
Completing this career path and the associated Assessments will prepare you for pursuing a career as a Security Engineer and further specializing in advanced skills like Cloud Security and Cybersecurity Architecture.
.webp)
Leadership and Management Career Path
Effective Leadership and Management is critical to any security-related function. Leaders and Managers are responsible for providing the vision and advocacy required for an organization to effectively manage cyber risks. This career path is designed to provide you with foundational knowledge and key skills required to succeed as an effective leader within any security domain.
OWASP Top 10 - A08:2021 - Software and Data Integrity Failures
OWASP Top 10 - A04:2021 - Insecure Design
OWASP Top 10 - A09:2021 - Security Logging and Monitoring Failures
OWASP Top 10 - A10:2021 - Server-Side Request Forgery (SSRF)
OWASP Top 10 - A05:2021 - Security Misconfiguration
OWASP Top 10 - A02:2021 - Cryptographic Failures
OWASP Top 10 - A07:2021 - Identification and Authentication Failures
OWASP Top 10 - A06:2021 - Vulnerable and Outdated Components
OWASP Top 10 - A03:2021 - Injection
OWASP Top 10 - A01:2021 - Broken Access Control
OWASP Top 10 - A04:2017 - XML External Entities


Protocol Tunneling
Exfiltration Over Alternative Protocol: Asymmetric Encrypted Non-C2 Protocol
SSH Authorized Keys

Lateral Movement: Windows Remote Management
Persistence via Windows Services
System Binary Proxy Execution and a Spearphish Payload
Server Software Component: Web Shell
Scheduled Task
Registry Run Keys

Windows Registry Analysis
In this hands-on lab, you will be introduced to the Windows Registry as a critical data source when performing digital forensic analysis of a Windows system. You will practice extracting Registry files from a system image, examining specific data in Registry keys, and cleaning dirty hives.
ISC2 Systems Security Certified Practitioner (SSCP) Practice Test
The SSCP exam preparation package helps students prepare for the ISC2 SSCP certification exam. The SSCP certification helps students validate their knowledge in areas, like security operations, incident response, and cryptography. This practice test will prepare you for the exam version that was updated in 2024.
Preparing for the SSCP Exam
Obtaining your SSCP certification signifies that you possess the ability to tackle the operational demands and responsibilities of security practitioners, including authentication, security testing, intrusion detection/prevention, incident response and recovery, attacks and countermeasures, cryptography, malicious code countermeasures, and more.
SSCP | Domain 7: Systems and Application Security
Obtaining your SSCP certification signifies that you possess the ability to tackle the operational demands and responsibilities of security practitioners, including authentication, security testing, intrusion detection/prevention, incident response and recovery, attacks and countermeasures, cryptography, malicious code countermeasures, and more.
SSCP | Domain 6: Network and Communications Security
Obtaining your SSCP certification signifies that you possess the ability to tackle the operational demands and responsibilities of security practitioners, including authentication, security testing, intrusion detection/prevention, incident response and recovery, attacks and countermeasures, cryptography, malicious code countermeasures, and more.
SSCP | Domain 5: Cryptography
Obtaining your SSCP certification signifies that you possess the ability to tackle the operational demands and responsibilities of security practitioners, including authentication, security testing, intrusion detection/prevention, incident response and recovery, attacks and countermeasures, cryptography, malicious code countermeasures, and more.
SSCP | Domain 4: Incident Response and Recovery
Obtaining your SSCP certification signifies that you possess the ability to tackle the operational demands and responsibilities of security practitioners, including authentication, security testing, intrusion detection/prevention, incident response and recovery, attacks and countermeasures, cryptography, malicious code countermeasures, and more.
SSCP | Domain 3: Risk Identification, Monitoring, and Analysis
Obtaining your SSCP certification signifies that you possess the ability to tackle the operational demands and responsibilities of security practitioners, including authentication, security testing, intrusion detection/prevention, incident response and recovery, attacks and countermeasures, cryptography, malicious code countermeasures, and more.
SSCP | Domain 2: Access Controls
Obtaining your SSCP certification signifies that you possess the ability to tackle the operational demands and responsibilities of security practitioners, including authentication, security testing, intrusion detection/prevention, incident response and recovery, attacks and countermeasures, cryptography, malicious code countermeasures, and more.
SSCP | Domain 1: Security Concepts and Practices
Obtaining your SSCP certification signifies that you possess the ability to tackle the operational demands and responsibilities of security practitioners, including authentication, security testing, intrusion detection/prevention, incident response and recovery, attacks and countermeasures, cryptography, malicious code countermeasures, and more.
Introduction to Test Prep for SSCP
Obtaining your SSCP certification signifies that you possess the ability to tackle the operational demands and responsibilities of security practitioners, including authentication, security testing, intrusion detection/prevention, incident response and recovery, attacks and countermeasures, cryptography, malicious code countermeasures, and more.
Local Authentication in Windows
In this hands-on lab, you will learn about local authentication mechanics in the Windows operating system, including user accounts, the authentication process, and different types of authentication. You will practice identifying when a user account has logged on and logged off, including the type of authentication.
Domain Authentication in Windows
In this hands-on lab, you will learn about domain-based authentication mechanics in the Windows operating system, including user accounts, the authentication process, and different types of authentication. You will practice identifying when a domain user account has logged on and logged off, including the type of authentication.
Cybrary Challenge: Motor Mayhem


Challenge: Memory Mysteries


Challenge: Between Two Numbers
Challenge: Saving A Fellow Spy
Challenge: Space Mission
Challenge: A Message Within A Message

Challenge: Don't Believe What You Hear

Challenge: Chatting with ChatGPT

Challenge: Saving a Fellow Monster

Challenge: Gobble Gobble Conceal & Deceive


Challenge: For the Rebellion or the Empire
Challenge: Update B4 It's 2Late
Challenge: MFA ... All Day Every Day
Challenge: Episode II - Attack of the Encoders
Challenge: The Base(64)ics
Challenge: Spiny Shell


CVE Series: Jenkins Arbitrary File Leak Vulnerability (CVE-2024-23897)
CVE-2024-23897 is a critical security flaw affecting Jenkins, a Java-based open-source automation server widely used for application building, testing, and deployment. It allows unauthorized access to files through the Jenkins integrated command line interface (CLI), potentially leading to remote code execution (RCE).
CVE Series: Authentication Bypass in Apache Superset (CVE-2023-27524)
CVE-2023-27524 is a critical vulnerability in Apache Superset, affecting versions up to 2.0.1. It enables attackers to bypass authentication by exploiting weak or default SECRET_KEY values. Attackers can forge session cookies to gain admin access, leading to potential remote code execution and unauthorized data access.
CVE Series: Confluence Authentication Vulnerability (CVE-2023-22515)
Confluence suffers from a Broken Access Control vulnerability that affects Data Center and Server versions 8.0.0 to 8.3.2, 8.4.0 to 8.4.2, and 8.5.0 to 8.5.1. Threat actors exploit this vulnerability to obtain administrator access to Confluence servers. Put on your Red Team hat to create your own malicious admin account leveraging this CVE!
CVE Series: WinRar Vulnerability (CVE-2023-38831)

CVE Series: Openfire (CVE-2023-32315)

CVE Series: Dirty Pipe (CVE-2022-0847)
CVE Series: Polkit (CVE-2021-4034)
CVE Series: Log4J (CVE-2021-44228)

CVE Series: InstallerFileTakeOver (CVE-2021-41379)
CVE Series: MSHTML Vulnerability (CVE-2021-40444)

CVE Series: HiveNightmare (CVE-2021-36934)

CVE Series: PrintNightmare (CVE-2021-1675 and CVE-2021-34527)
CVE Series: Ghostcat (CVE-2020-1938)


CVE Series: Atlassian Bitbucket Command Injection (CVE-2022-36804)

CVE Series: Grafana Directory Traversal (CVE-2021-43798)
CVE Series: Apache HTTPD (CVE-2021-42013)

CVE Series: Apache Spark (CVE-2022-33891)
CVE Series: Django (CVE-2022-34265)
CVE Series: Follina (CVE-2022-30190)
CVE Series: Confluence RCE (CVE-2022-26134)
CVE Series: Redis (CVE-2022-0543)
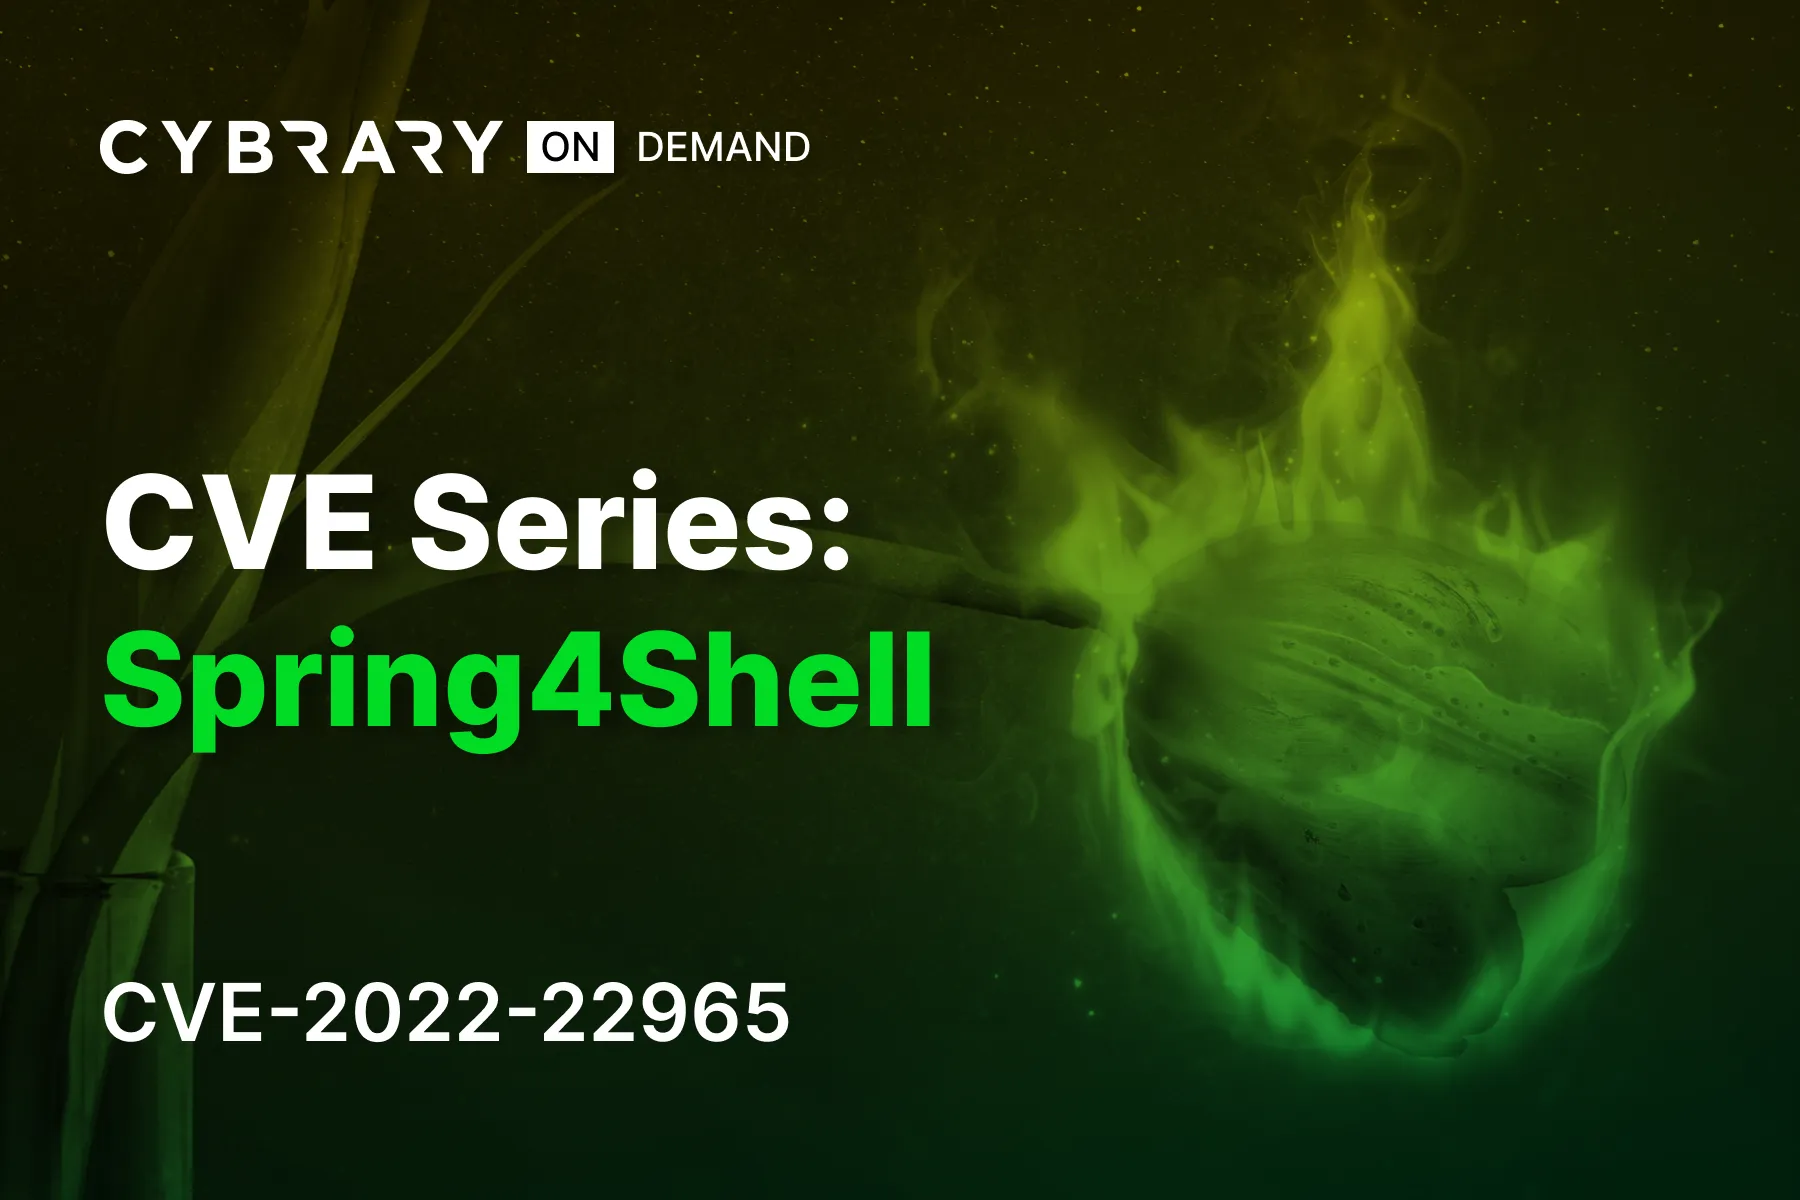
CVE Series: Spring4Shell (CVE-2022-22965)
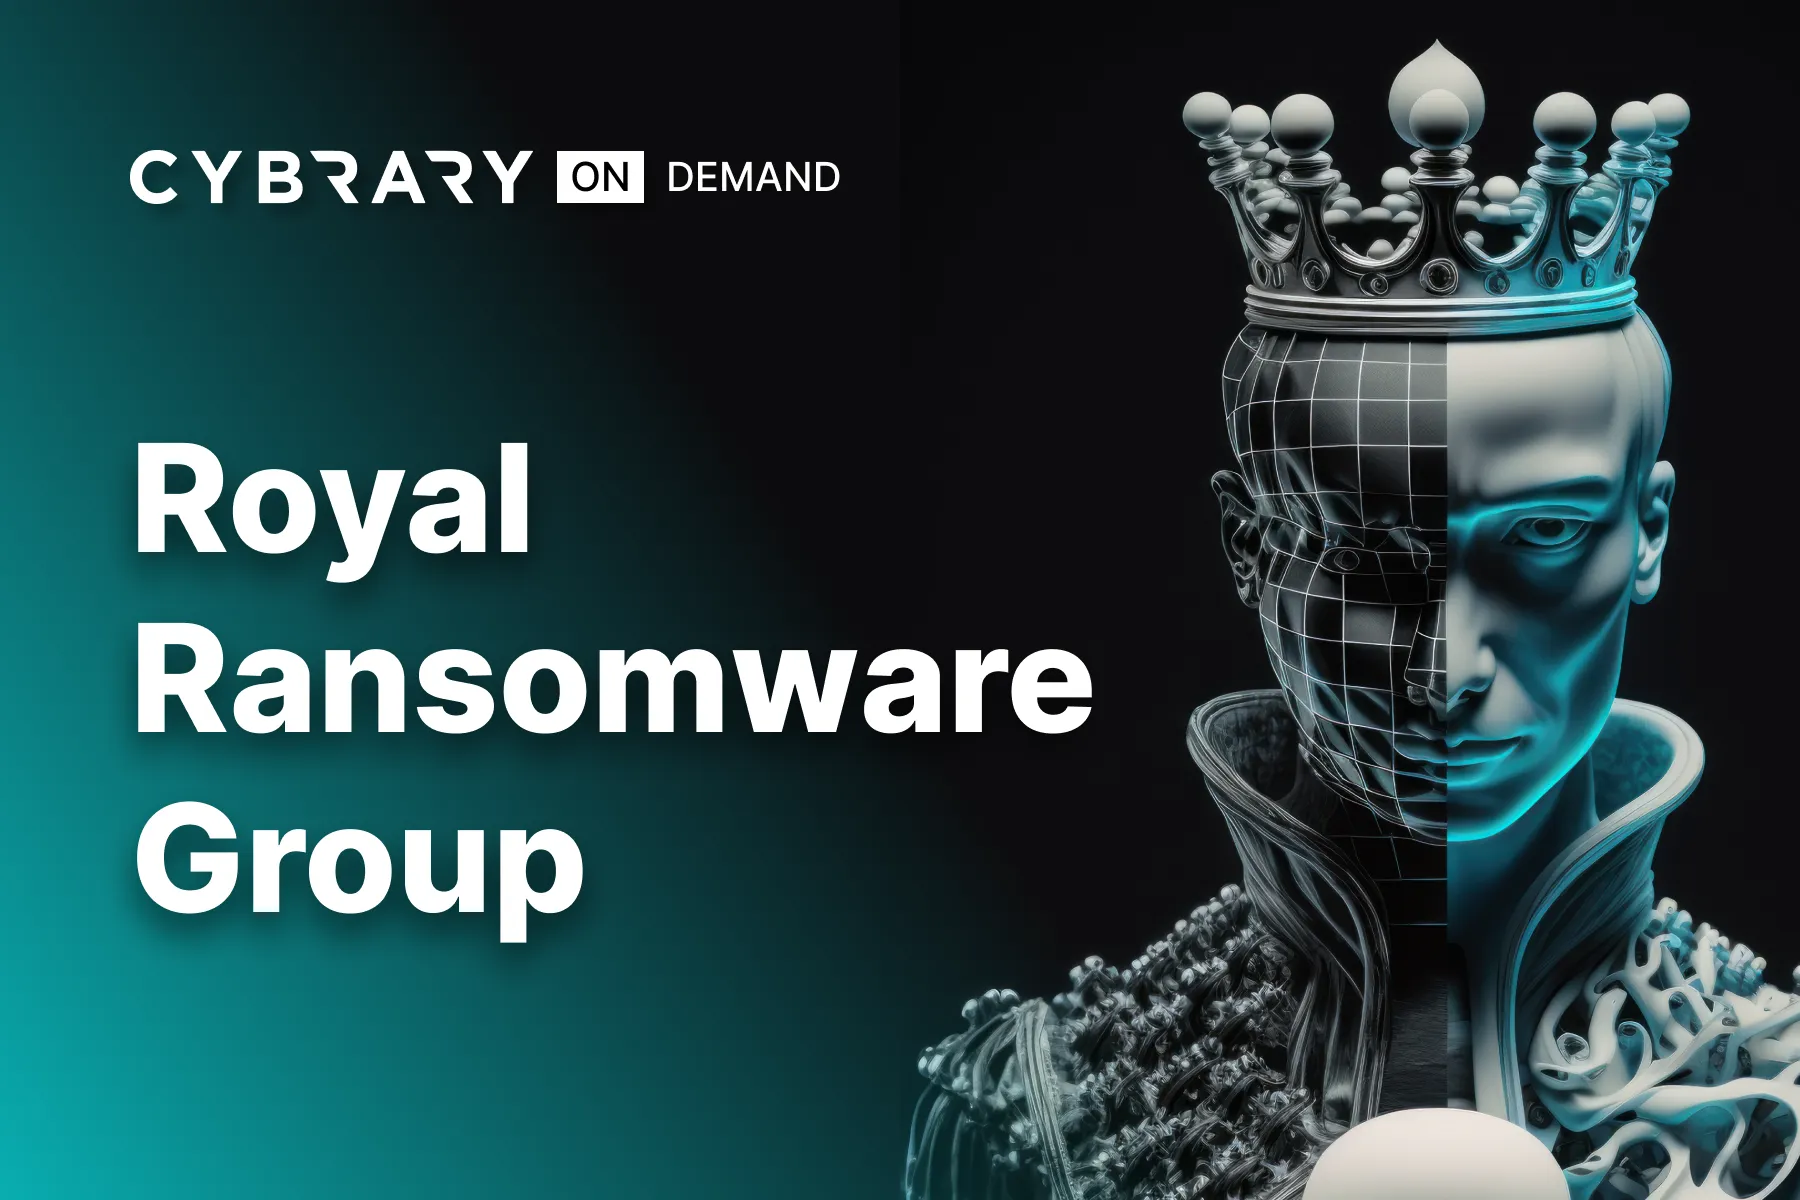
Royal Ransomware Group
Royal is a spin-off group of Conti, which first emerged in January of 2022. The group consists of veterans of the ransomware industry and brings more advanced capabilities and TTPs against their victims. Begin this campaign to learn how to detect and protect against this newer APT group!

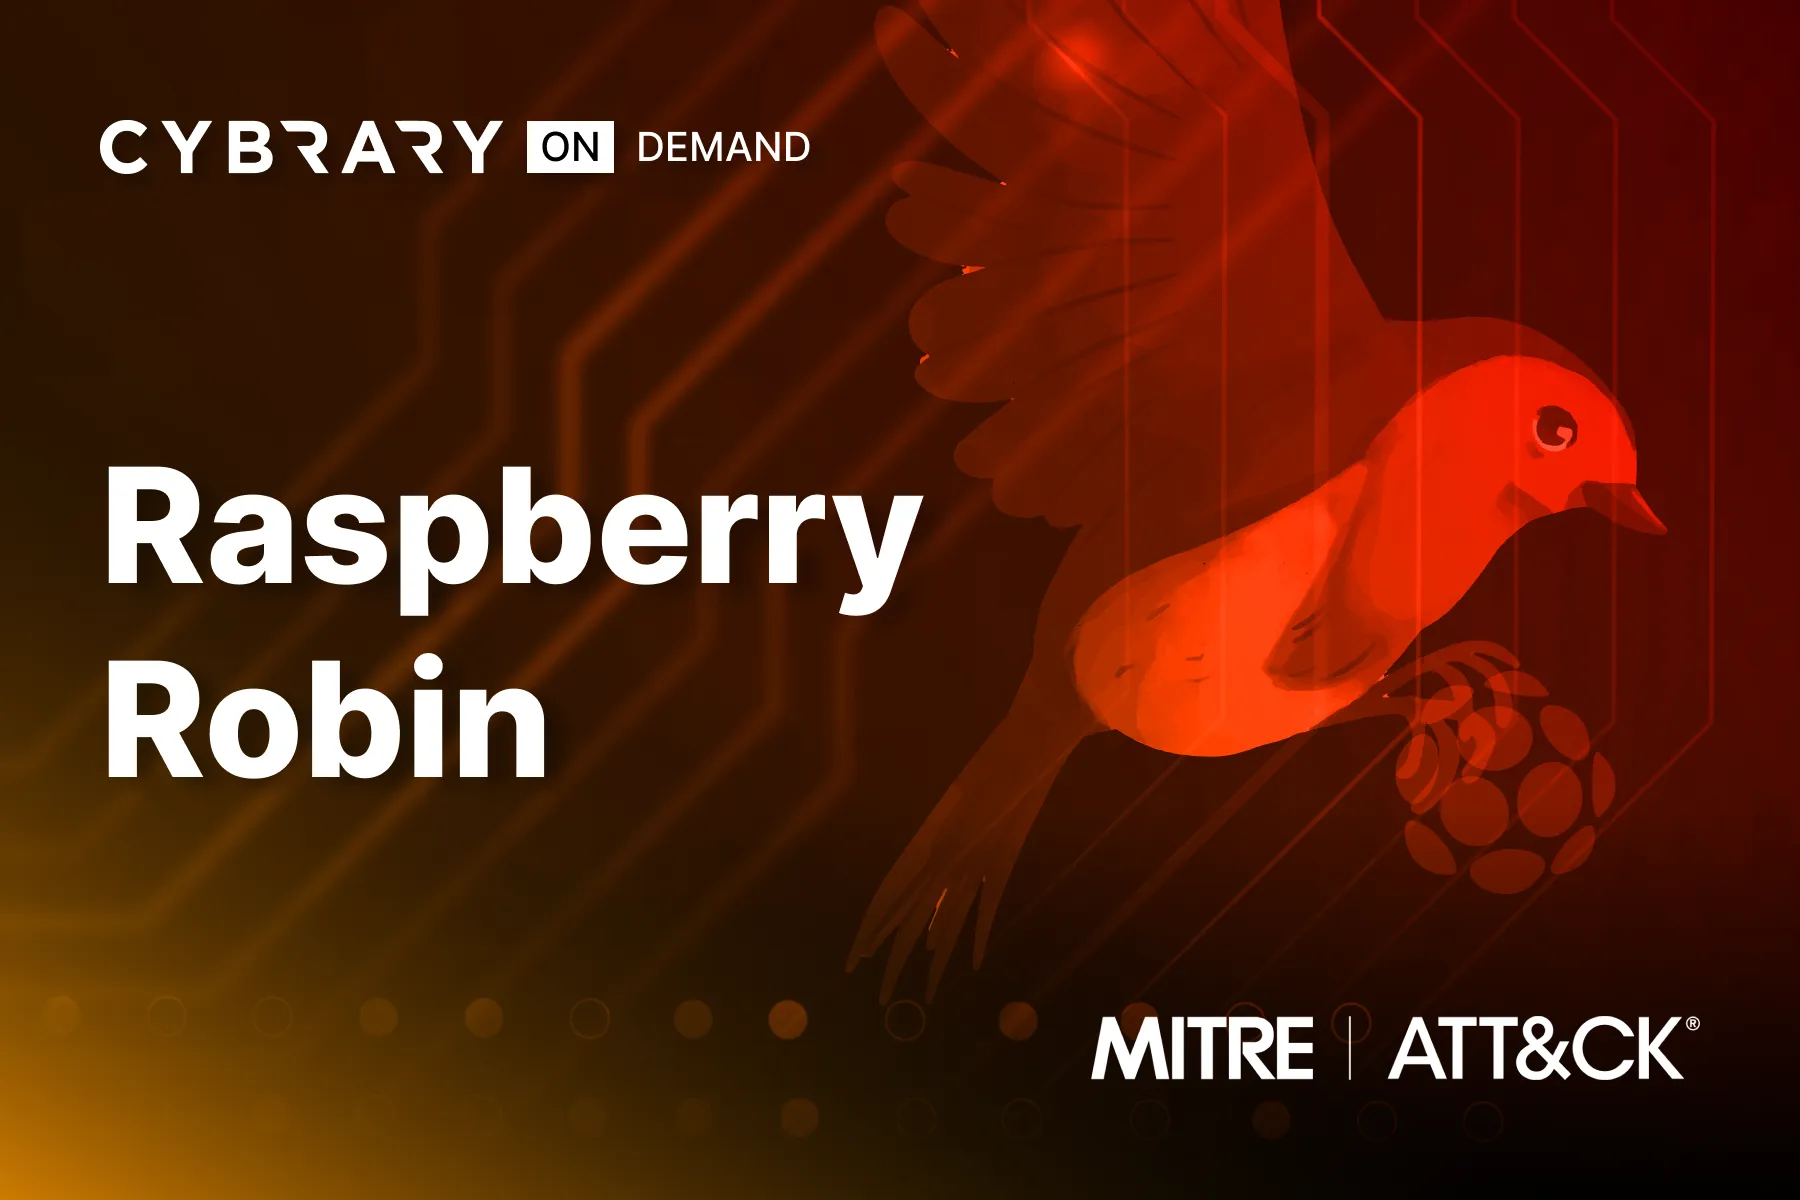
Raspberry Robin
Raspberry Robin is a malware family that continues to be manipulated by several different threat groups for their purposes. These threat actors (Clop, LockBit, and Evil Corp) specialize in establishing persistence on a compromised host and creating remote connections to use later. Once established, these C2 connections can be used for multiple purposes, including data exfiltration, espionage, and even further exploitation.

Double Trouble with Double Dragon

Weak Link in the Supply Chain
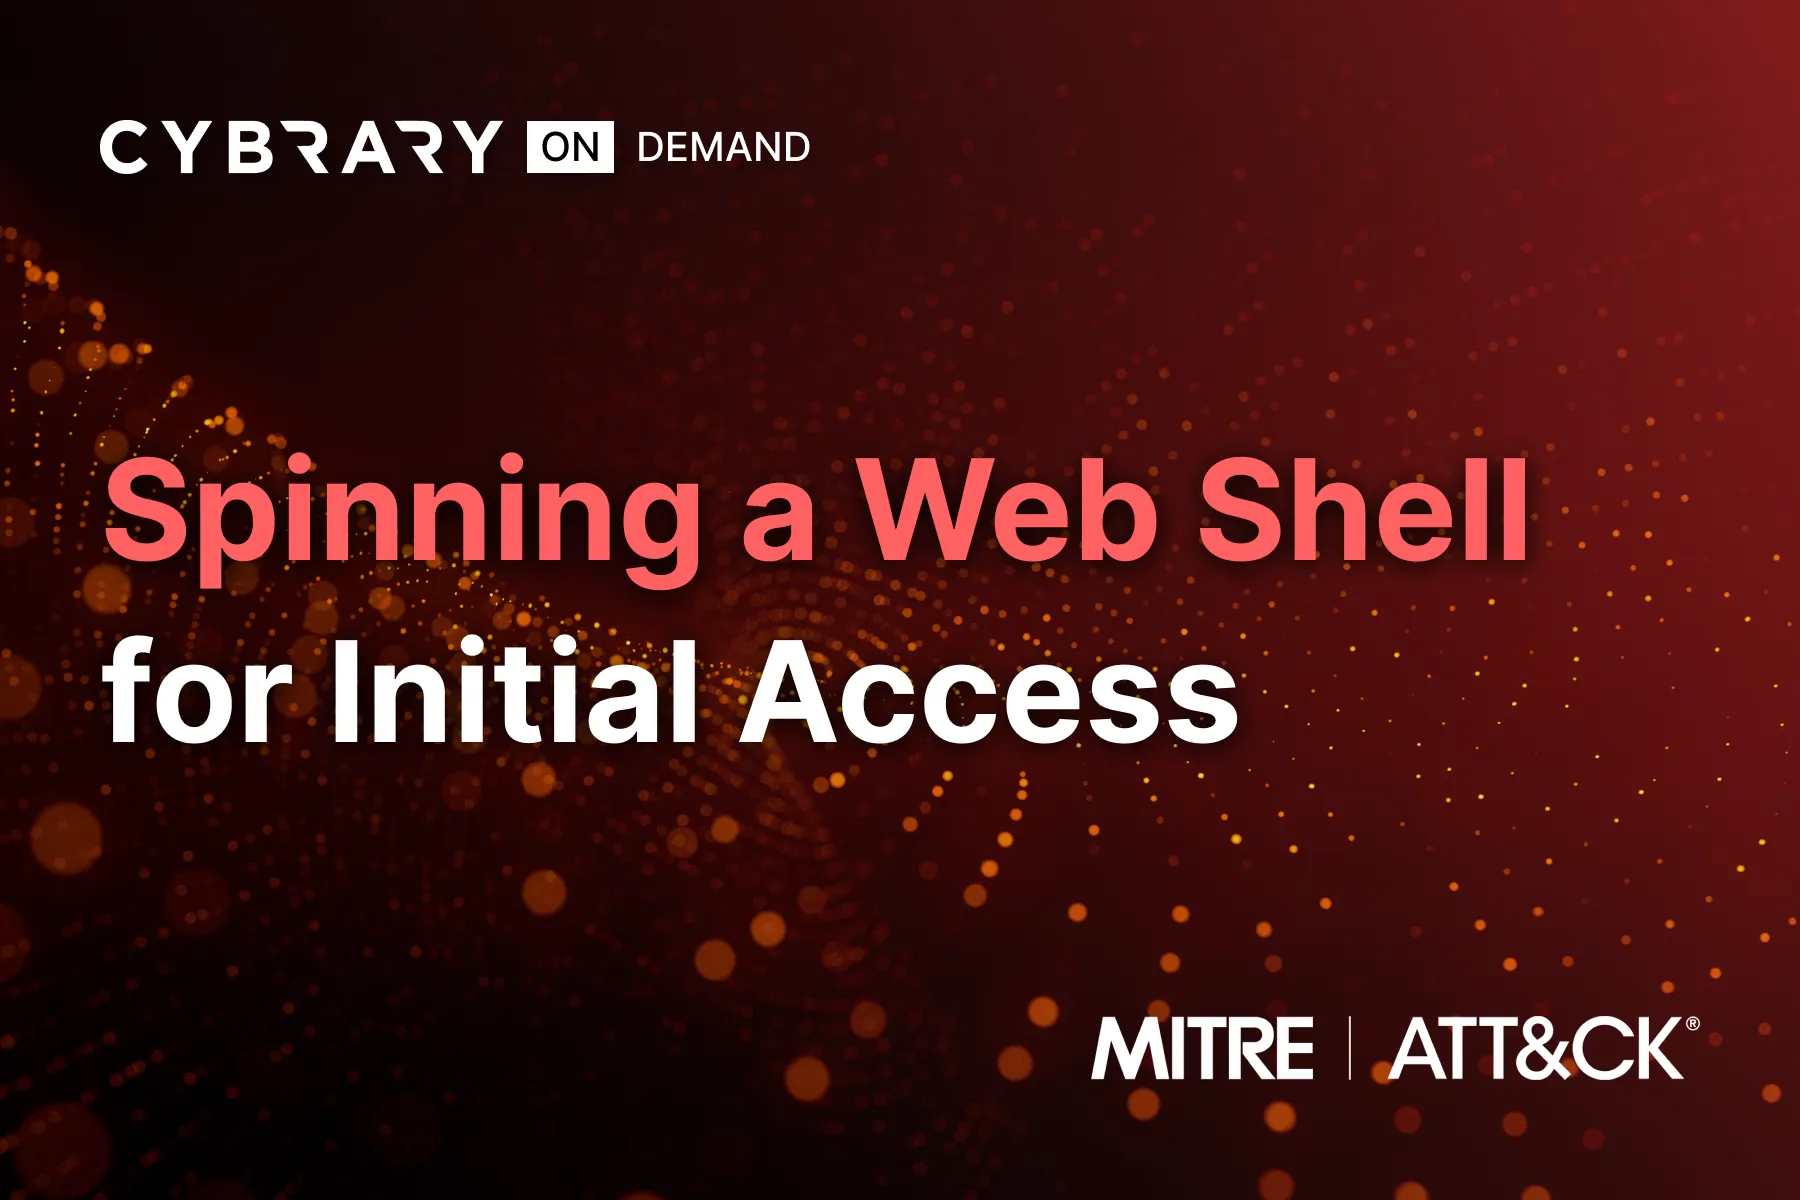
Spinning a Web Shell for Initial Access
Exfiltration and Extortion
Threat actors will use stolen data exfiltrated from victim systems to extort organizations. Once they gain a foothold, they delete critical system files and threaten to release the data or disrupt operations if the victims do not pay up. Understanding these techniques is vital to defending your organization from such attacks.

Ransomware for Financial Gain
Threat actors continue to leverage ransomware to extort victim organizations. What was once a simple scheme to encrypt target data has expanded to include data disclosure and targeting a victim’s clients or suppliers. Understanding the techniques threat actors use in these attacks is vital to having an effective detection and mitigation strategy.

Our Instructors
Industry seasoned. Cybrary trained.
Our instructors are current cybersecurity professionals trained by Cybrary to deliver engaging, consistent, quality content.


Cybrary is just an amazing platform. Literally thousands of hours of quality content. You can find a course or a lab for just about everything, and they are constantly releasing new material. They also have highly responsive customer service. It's been worth every penny.

Greatest investment I have made to dateCybrary is solely responsible for my passing the CompTIA A+ exam and is the reason I am going into my Net+ with confidence. I have learned a great deal through virtual labs, practice tests, recorded lessons, and the various other things they offer. The community is great as well. Got a question about the interview process for a tech job? Ask in discord. Just got a cert? Post it in discord and let the reactions and comments flow making you feel great about yourself. It is an all around wonderful experience and I rate it as a totally worthwile expense for starting or furthering your career in the IT industry. Invest in yourself.
Training is coolEasy to enroll, instructors are enthusiastic and professionnal, technical stuff is very well explained.
I've been having concerns on how to start in terms of building my #cybercareer with a sustained path. So I got introduced to Cybrary and I was able to enroll and startup early last week and I have gone through two sessions, getting to know Cybrary and also a view of what cybersecurity is from their perspective. That gave me an overall view of what jobs are found in the space, their general responsibilities, required skills, necessary certifications and their average salary pay... Cybrary has given me a greater reason to pursue my hearts desire at all cost.
Thanks to Cybrary I'm now a more complete professional! Everyone in [the] cybersecurity area should consider enrollment in any Cybrary courses.
The interviewer said the certifications and training I had completed on my own time showed that I was a quick learner, and they gave me a job offer.
Our partnership with Cybrary has given us the opportunity to provide world-class training materials at no cost to our clients, thanks to the funding we’ve received from the government. Cybrary offers a proven method for building a more skilled cybersecurity workforce.
All of the knowledge, skills, and abilities gained through the program were essential to me impressing the employer during the interview.
Cybrary is a one-stop-shop for my cybersecurity learning needs. Courses on vulnerability management, threat intelligence, and SIEM solutions were key for my early roles. As I grow into leadership roles influencing business policy, I’m confident Cybrary will continue developing the knowledge and skills I need to succeed.
After tens of minutes, I proudly have achieved my certificate of continuing education for Intro to Infosec... Doing everything I can to avoid retaking the CISSP test! Thanks Cybrary - 1 CPE at a time!
We’ve had six students this summer, all with different schedules, so we’ve been trying to balance their learning experience with some practical work. It’s not like they’re all sitting in a classroom at the same time, so the ability for them to learn at their own pace without any additional support has probably been the biggest benefit of using Cybrary.

Just finished the third out of four MITRE ATT&CK Defender courses on Cybrary... If anyone is interested in learning how to do ATT&CK based SOC assessments I would definitely recommend this course. The best part is that it is FREE!
Excellent new series of courses from Cybrary, each course covers a different CVE, demonstrates vulnerability and its mitigation.

I've successfully completed the career path provided by Cybrary to become a SOC Analyst - Level 2. Eventually, do what you love, and do it well - that's much more meaningful than any metric.
Cybrary is helping me proactively build skills and advance my career. Labs put concepts immediately into practice, reinforcing the content (and saving me time not having to spin up my own VM). Career paths lay everything out clearly, so I know what skills to prioritize.
I got a job as a cybersecurity analyst at Radware with a salary I've never even dreamed about AND with no prior experience.
Thank you to Cybrary for providing this opportunity to complete the Cybrary Orientation Certification program with such sleekness and detail-oriented learning.

So far I have really been enjoying Cybrary's SOC Analyst Training, it has been very informative. I just finished up with the command line section and now I'm on to the more fun stuff (Malware Analysis). I think it's so dope that platforms like this exist. This is a game changer.
I decided to check out Cybrary and the courses they had to offer after seeing a few posts from people who had completed their courses. I'm happy to say that their instructors are knowledgeable and clear, and their course catalogues are extensive and offer relevant career path courses.
Glad to have discovered Cybrary they are such a great tool to use to help diversify your knowledge through lessons, assessments and practices. All compact[ed] into highly detailed and informative chunks of information. Feeling very content with the results.

Well, it took a long time, yet I struggled hard to complete the course "Become a SOC Analyst - Level 2" by Cybrary. Cybrary is the best platform that I have ever come across. Tons of virtual labs, great in-depth insights from the experts, and the best career path/learning modules.
I am currently working in a restaurant and going to school full time. But it is not stopping me from working on gaining more and more skills. I have already spent more than 30 hours on Become a SOC Analyst level 1 [with] Cybrary and still have 67 hours to go.