TL;DR
Outline
- Get the concept of how the attack works
- Set up the environment
- Make the target clear
- Start the process
- Wait for the target to establish a connection to an insecure network
- The username and the password are captured automatically and displayed on the console
How does the attack work?
In a computer network, ARP poisoning is a technique where the attacker sends falsified ARP messages over a Local Area Network (LAN) to link its MAC address to the IP address of a legitimate computer or server. As a result, if any device sends any data to that respective server or computer, it will be sent to the attacker unintentionally because the ARP cache has been poisoned.
Set up the environment
For the attack to be committed, the environment should be set up. You have to use Kali Linux because we will use a simple graphical tool called Ettercap, and it is available on Kali Linux by default. So, start your Kali Linux machine and connect it to the target network. You can go through the link Connecting to a network in case you have difficulties in connecting to (target) network.
Make the target clear
You have to make your target clear. For sure, you know the device that you are about to attack, but you have to gain the IP address of your target device.
For getting the IP address of the target, you should discover all the live hosts in the network and select the one which you want to attack. So, open the terminal on Kali Linux Machine and type "nmap -sn TargetNetworkID/prefix" and press Enter. The target network ID in this tutorial is 192.168.0.0, so the command would be "nmap -sn 192.168.0.0/24". The output will show the live hosts' IP addresses and MAC addresses along with their latency in three lines. Our target in this tutorial is 192.168.0.20. For more information and resources regarding "nmap," you can enroll in Cybrary's NMAP course, or refer to httpsnolink://www.nmap.org.

Figure 1: Kali Linux Machine, scanning the network for live hosts using nmap
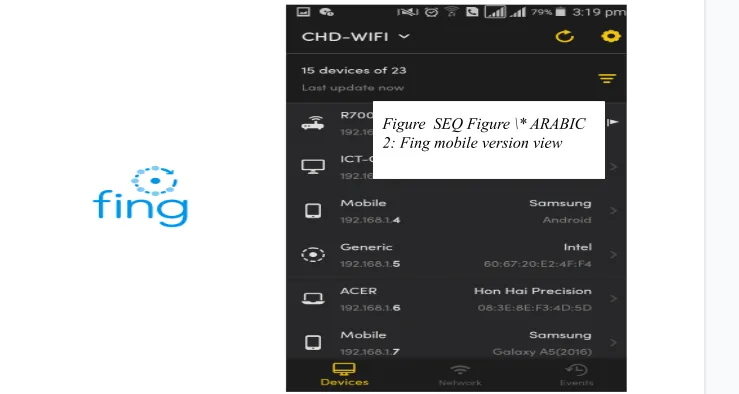
You can also do this process automatically using some network scanners such as Fing desktop and mobile version. Both Fing Desktop and Mobile versions are available on httpsnolink://www.fing.com/.
Start the process
As you have already started the Kali Linux machine, click on Application on the top-left corner of the desktop, and go over the Sniffing and Spoofing tool. Then find the Ettercap-graphical on the menu next to it and click on it.
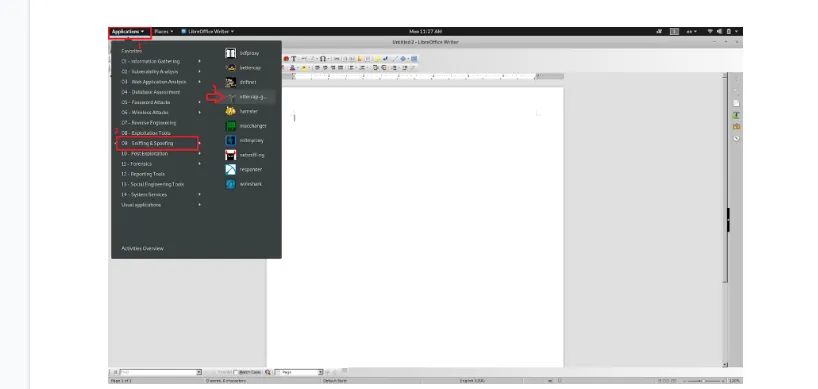
Figure 3: Kali Linux Machine, starting the Ettercap
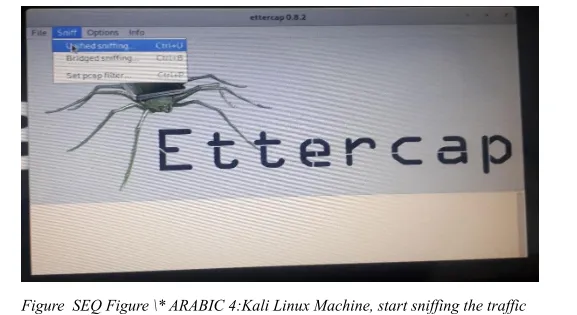
The program will start. Then under the "Sniff" option on the menu, click on the "Unified Sniffing," or simply press Ctrl+u.
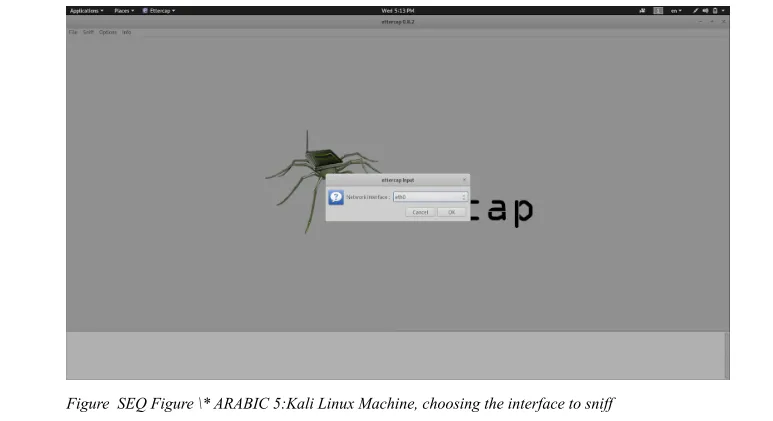
There will be a pop-up window, so you have to select the interface which you are connected to the network through. Mine is ETH0 in this case. Then click, OK.
Under the "Host" option on the menu, click on "Scan for hosts" or simply use Ctrl+s. This process will discover all hosts connected to the network. To view all hosts connected to the network, click on "Host list" under the "Host" option on the menu, so all the hosts will be shown on the list.
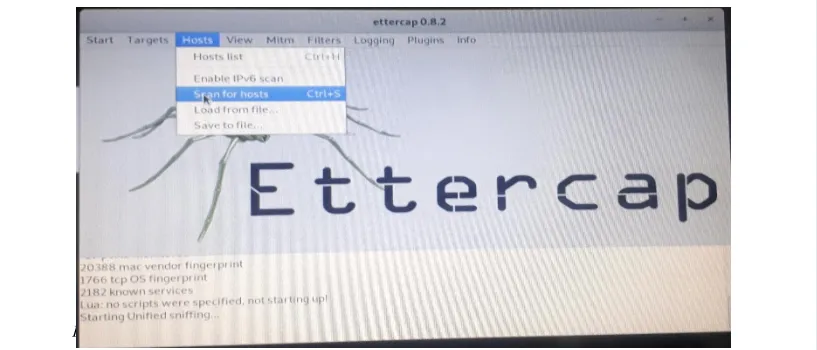
Figure 6: Kali Linux Machine, scanning for hosts in the network
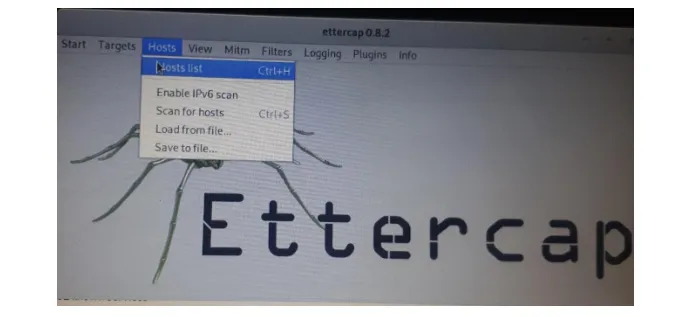
Figure 7: Kali Linux Machine, showing the host list on Ettercap
As you know, your target, you should select your target, and add it to the target list by clicking on the "Add to Target 1/2" button shown below. Our target in this tutorial is 192.168.0.20.
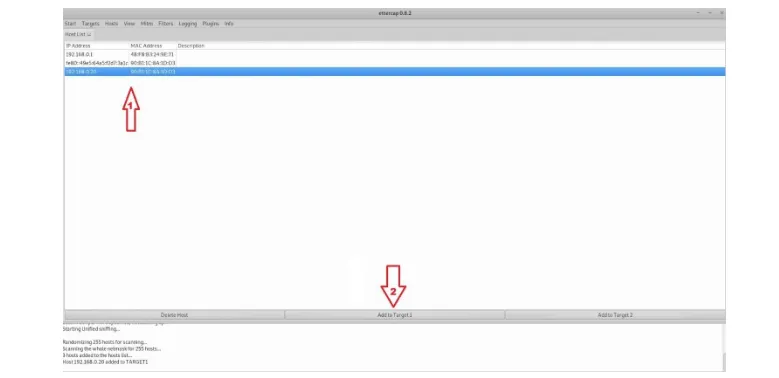
Figure 8: Kali Linux Machine, adding the target to target list on Ettercap
Verify your targets by clicking on "Current targets" under the "Target" option on the menu, so your targets will be displayed on the main window of the application. We can see that our target device has been added to the target list.

Figure 9: Kali Linux Machine, verifying the target on Target list
To start the attack and poison the target's ARP cache, click on "ARP poisoning" under the Mitm option on the menu.
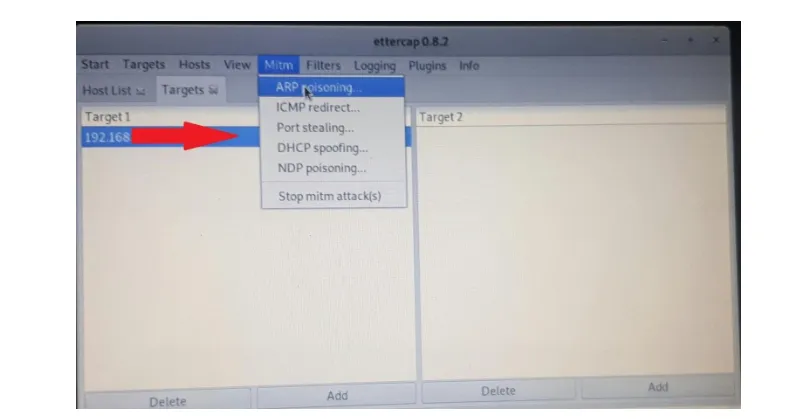
Figure 10: Kali Linux Machine, Start the ARP poisoning attack.
There will be a pop-up window with two options, so you should select the "Sniff remote connections," and click OK.

Figure 11: Kali Linux Machine, ARP poisoning pop-up option on Ettercap
Now in a live network, you have to be patient till the administrator or someone responsible logs into the router so that you can capture the credentials.
But here for the purpose of this tutorial, we switch to the (Windows 10) target machine and try to log in to the wireless router web interface.
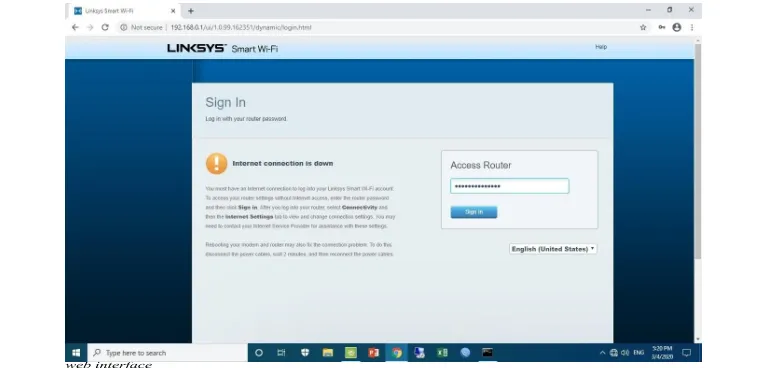
If we switch to the Linux machine, on the Ettercap console at the bottom of the main window, the logs are shown. Let's just go over the logs. Woohoo! We could capture the Username and the Password for the wireless router. They are as follow along with the wireless router's address and its relevant port number:
HTTP: 192.168.0.1:80 -> USER: admin PASS: p@ssw0rd_f0ound
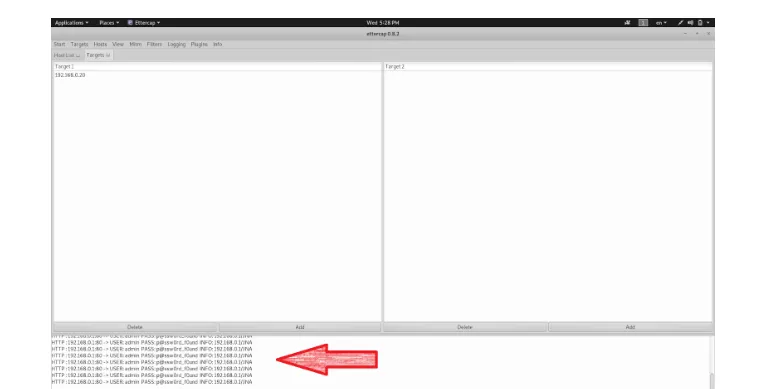
Figure 13: Kali Linux Machine, Ettercap window displaying the captured credentials
Let's verify the captured credentials by logging in to the router using them. We just open our browser and type the router's address, 192.168.0.1, and press Enter. Let's enter the credentials and press enter. As a result, we will be authenticated to the router, and we took over the router. And we have full control over the wireless router's management.
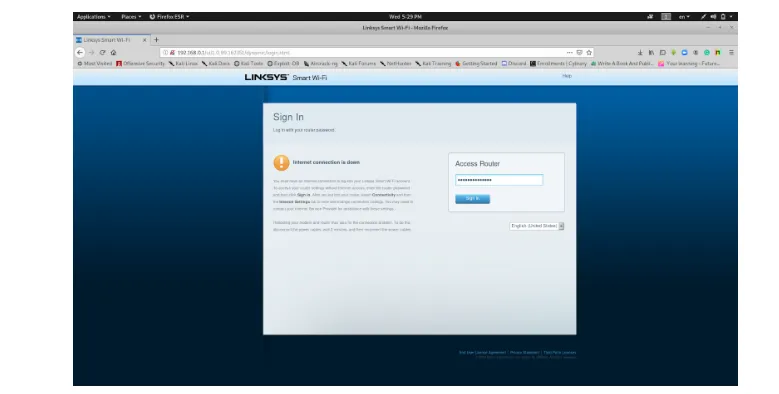
Figure 14: Kali Linux Machine, Firefox browser, Wireless router's login web interface
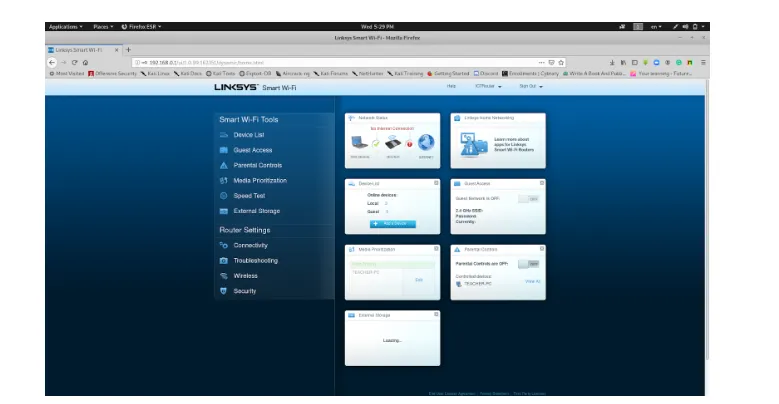
Figure 15: Kali Linux Machine, Firefox browser, Wireless router's management/ configuration web interface
After all, we got successful in getting the routers username and password. To resolve and defend against this attack, we have to use the HTTPS for local access to the router, and we can do it by following these steps in this Linksys Wireless Router.

Figure 16: Kali Linux Machine, Firefox browser, Wireless router's management web interface
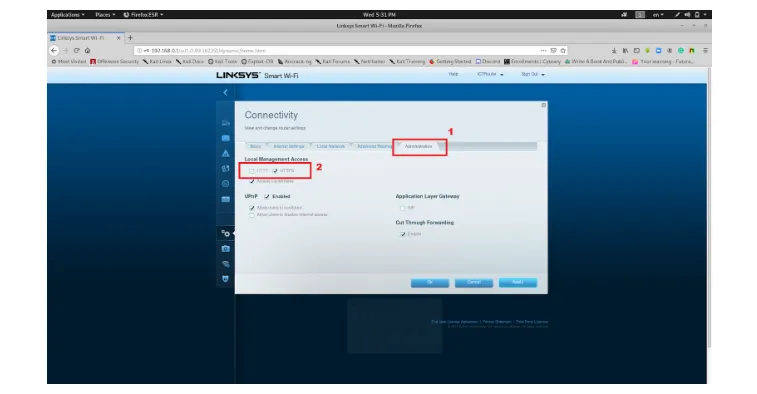
Figure 17: Kali Linux Machine, Firefox browser, Wireless router's management web interface
Cybrary has always been a great educational resource for IT and Cybersecurity-related topics. Growth in ethical hacking and penetration testing has resulted in an explosion of in-demand careers and skills over the last two decades. If you are interested in IT and would like to launch a career as a security guy in a network, you can learn these valuable skills at Cybrary by joining the Penetration Testing and Ethical Hacking courses.
Enhance Your Cybersecurity Career with These Courses: