TL;DR

Hi Cybrarians!!!I hope you are doing well and studying hard. While pursuing the Penetration Testing course, we often feel the need for our own Web servers, where we can test our skill-sets without worrying about permissions and the law.To this end, I started to gather some information and found out that we can create our own virtual web servers and apply all of our tricks and skills SAFELY.
Here's how to do it:
Prerequisites:-
- Virtual Box installed. (You can use any software of your choice)Get it from here:- https://www.virtualbox.org/wiki/Downloads
- A host machine with minimum of 8 GB RAM (recommended)
- Ubuntu server ISO file. (You can use any server OS of your choice.)Get it from here:- http://www.ubuntu.com/download/server
- Check out your processor and OS architecture to be sure which version of these software you need to download.
Note: I'm using A Windows 10 machine as the host, VirtualBox 5.0.4 and Ubuntu Server 15.04. So let's start…….
Step 1. Open virtual box.
Step 2. Go to File>Preferences>Network and click the Host-Only Networks Tab. You'll see “VirtualBox Host-Only Ethernet Adapter” listed there. If not, you can create it by using the “+” sign at right. Now, go to the settings of the Host-Only Ethernet Adapter by first selecting it and after, by clicking the Edit button at right.
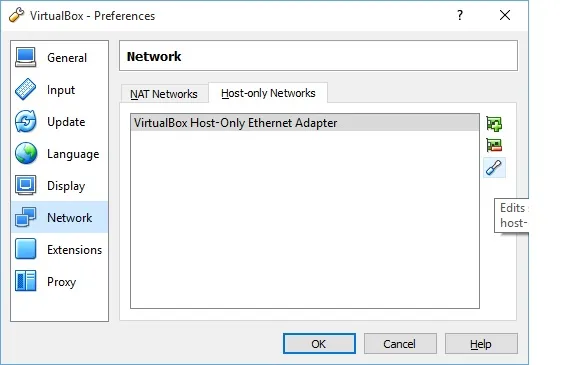
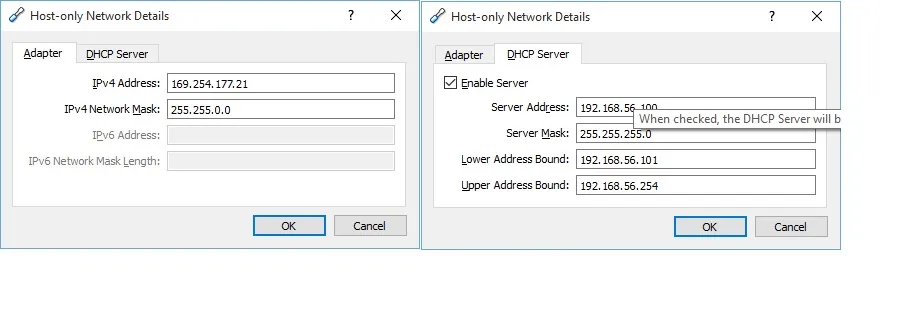
Step 3. Check out the settings in both tabs to see whether they are okay or not. You can change it as you want, but I prefer not to.
Step 4. Return to the main welcome screen of VirtualBox and create a new virtual machine with “Ubuntu Server” as it's name. If you have difficulties doing so, I advise check out my other tutorial where this topic has been covered in detail - Tutorial: Setting up a Virtual Pentesting Lab at Home
Step 5. Right click on your newly created Virtual machine and click settings. Go to Network section and choose “Bridged Adapter” as Adapter 1 and “VirtualBox Host-only Ethernet Adapter” as Adapter 2.
Note:- Host-Only Adapter will make Your Virtual machine available to communicate with other Virtual machines and the host machine. It creates a loop-back interface on your host, which functions as an internal network. It's activity cannot be seen from the outside world and it provides DHCP functionality. Bridged Adapter will “allow VirtualBox to intercept data from the physical network and inject data into it, effectively creating a new network interface in software.” according to Oracle.
Step 6. Go to Storage section and select the Ubuntu Server ISO as your disk image file. Click OK.(A screen shot of step 5 and 6.)

Step 7. Hit Start to start the installation of your virtual server. Select language and hit enter on “Install Ubuntu Server” by selecting it with arrow keys. I'm not providing the screen shots for all of them and assuming you know how to install it. However, I'm denoting every steps associated with this installation.
- Select your language.
- Select your country.
- Choose whether you want it to detect your keyboard layout or not. I chose no.Use Tabs to move, Space to choose and Enter to activate any button you have selected.
- Select your keyboards country of origin. I've selected English (US), with the same keyboard layout at the next dialog. Let it do it's work.
- Select eth1 as your primary network interface, because we've chosen Adapter 2 as the “VirtualBox Host Only Ethernet Adapter,” which will provide the automatic DHCP network configuration for our installation.
- Continue with a default route? I took Yes. Use Tabs to select between the options.
- Name Server addresses? Leave it blank by hitting on Continue.
- Host name? I named it “ubuntuserver”.
- Full name of the user? I have used “myuser”.
- User name of your account? I have used “myuser”.
- Choose a password.
- Encrypt your home directory? I chose “No.” You can choose whatever you want.
- Select the partitioning method. I chose “Guided use entire disk.”
- Select disk to partition? I chose the default “VBOX HARDDISK” provided.
- Write the changes to disks? Hit “Yes.” Then let it do its work.
- HTTP proxy information? Leave it blank by hitting continue. Let it do some more work.
- How do you want to manage upgrades on this system? I chose “No automatic updates.” You can choose as you wish.
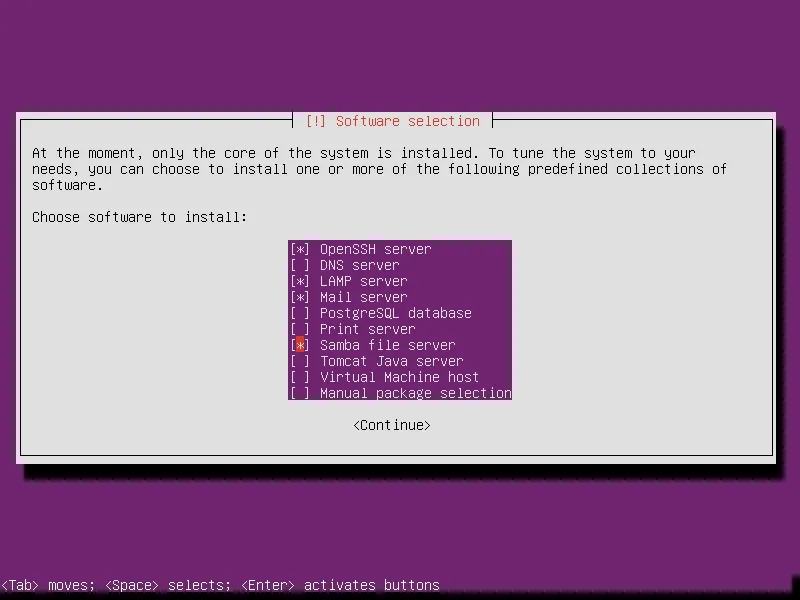
- Now the real part. At “Choose software to install,” select the Server parts you wish to install, through selecting it by pressing Space and arrow keys to navigate. You can choose any combination you want. I'm giving a screen shot of what I chose for your convenience. Then hit Continue.
- New Password for MySQL “root” user? Choose a password and hit continue, re-enter it and hit continue.
- General type of mail configuration? I chose No Configuration.
- Create a self signed SSL certificate? I chose Yes.
- Host Name? Leave it as localhost or change it as you wish. Let the installation continue.
- Install the Grub loader to your Master boot record? I chose “Yes” because it is talking about the virtual hard disk image, which is in use.
- You'll see a dialog box saying, “The Installation is Complete.” Hit continue.
Thank God, our Server installation is over.
Step 8. After rebooting, log into it using your Username and Password. Probably, you want to get rid of the junk messages from the shell by issuing “clear” command. Then, fire the “ifconfig” command. You'll see something like this. (Commands without the quotes).
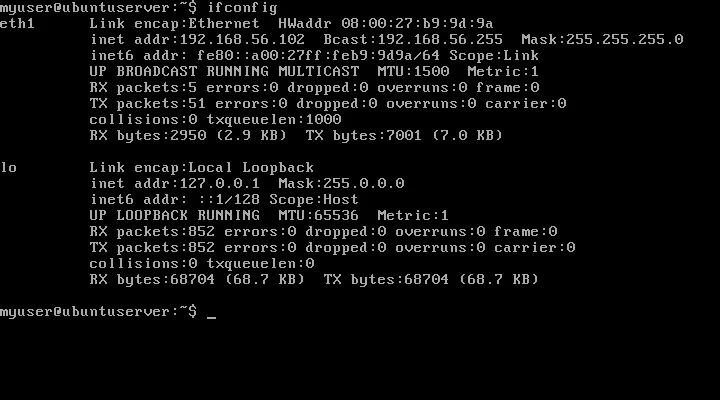
So, 192.168.56.102 is the IP Address you can use to access your server. Hmmm….
Step 9. Very well, then. Open a browser and enter the IP. Then hit Enter key. You're going see something similar to this.
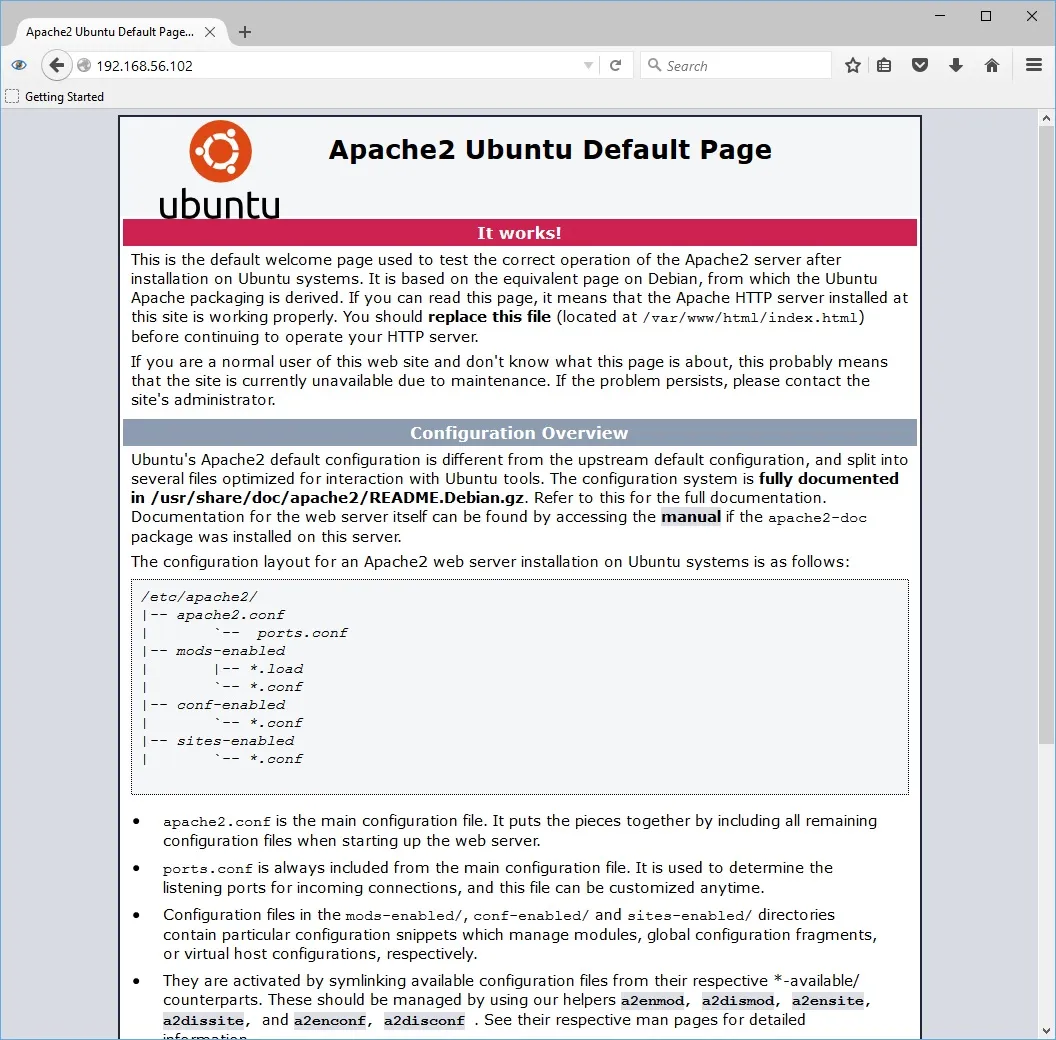
So, Your server is now up and running. Let's try something on it. Right?
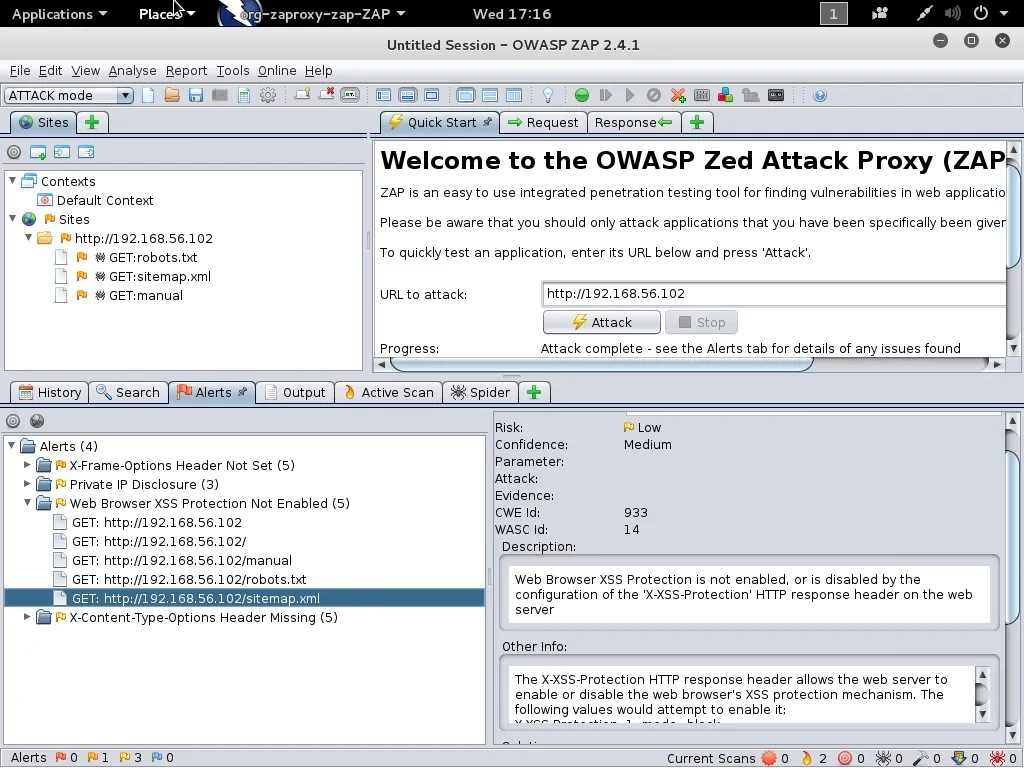
Step 10. Check if our server can be penetrated or not. I'm loading Kali Linux on another Virtual machine and see what our Server has got. Yeehaaa, bring it on.
Picture A. You can see I am using ZAP to identify the vulnerabilities in the server.
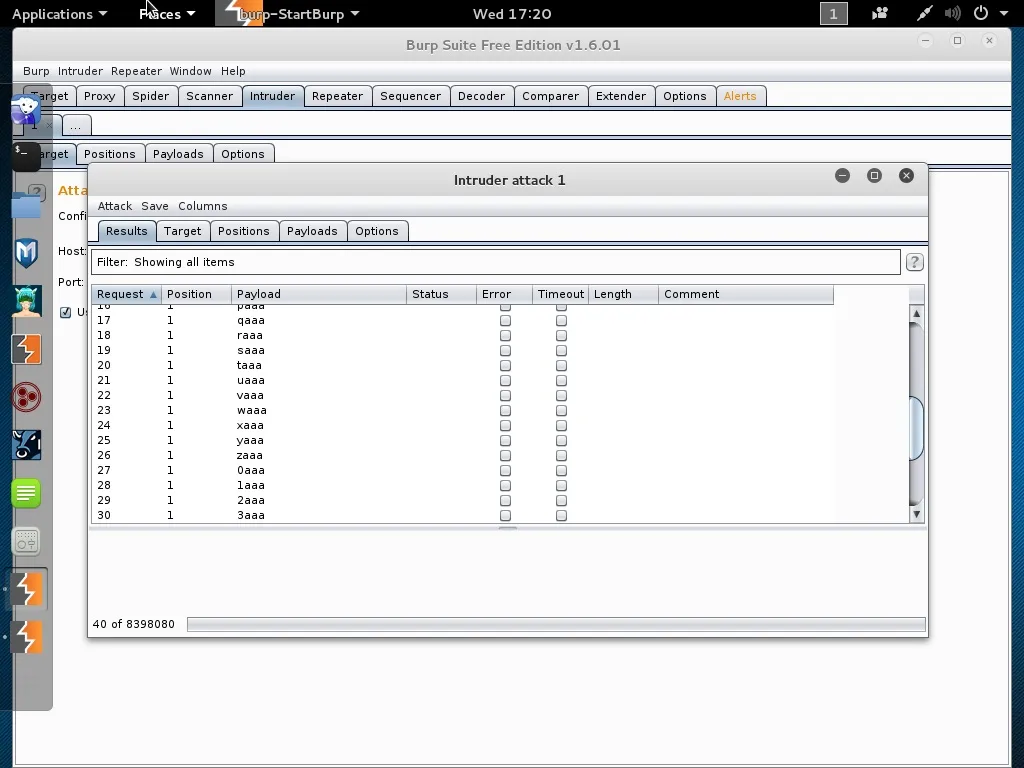
Picture B. You can see Burp Suite is in action while trying to brute force our server. OMG!!!
So, that's how we create our own server when we want a safe and less troublesome way to test our skills. However, right now this server can not access internet, I'm leaving that up to you to make it happen. Also, if you want to access this server from internet you might want to do some Port forwarding. Try it and let us know what happened. Good Luck, Cybrarians. Love and Peace.